


Seeeduino Cloud

Introducción
En este post añadiremos una relay shield a nuestro seeeduino. Seguidamente, realizaremos el cableado con uno de los relay y conectaremos un pequeño ventilador. De esta manera podremos encender y apagar nuestro ventilador remotamente.
- Montando el Relay Shield y cableado de un relay
- Programa para controlar el relay
- Encendiendo y apagando nuestro ventilador
Montando el Relay Shield y cableando un relay
El funcionamiento de un relay es bastante simple. Un relay es un switch electromagnético. Un relay tiene tres entradas:
- nc (normally closed). El circuito tiene corriente, a no ser que se active el relay.
- no (normally open). El circuito no tiene corriente, a no ser que se active el relay.
- com (entrada de electricidad). Punto de entrada del corriente eléctrico externo.
En el siguiente ejemplo podemos ver la conexión de un relay con un motor. Si observamos el diagrama el motor no estará en funcionamiento hasta que se active el relay.

Motor-shield-schematic-drawing
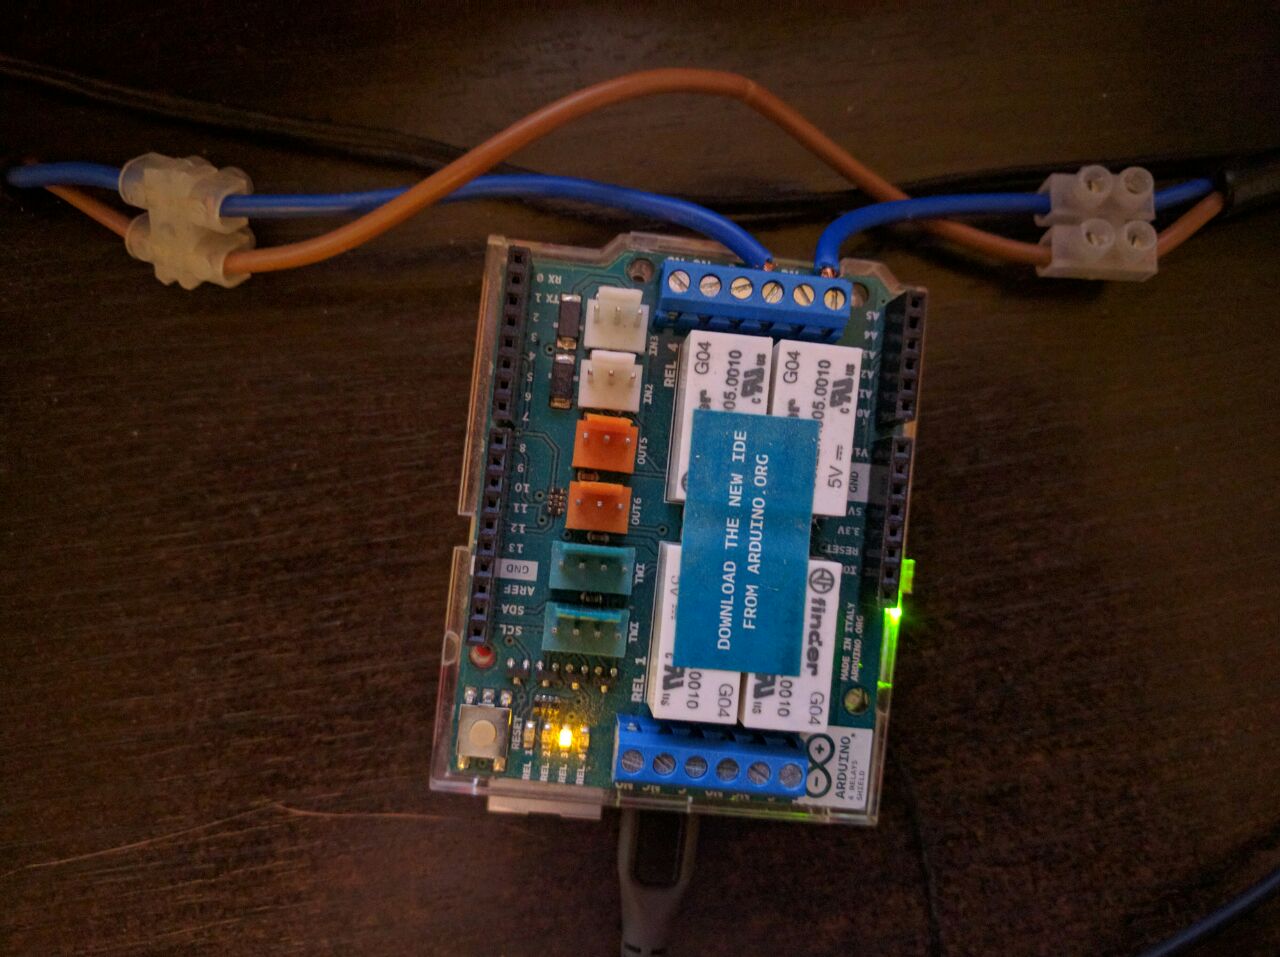
Primeramente montaremos la relay shield encima de nuestro Seeeduino (Encaja perfectamente).
Seguidamente cablearemos un relay. En este ejemplo utilizaremos el relay 3 (digital pin 8), pero se podría utilizar cualquiera. La entrada de corriente estará en el conector C
, y la salida en el conector NO
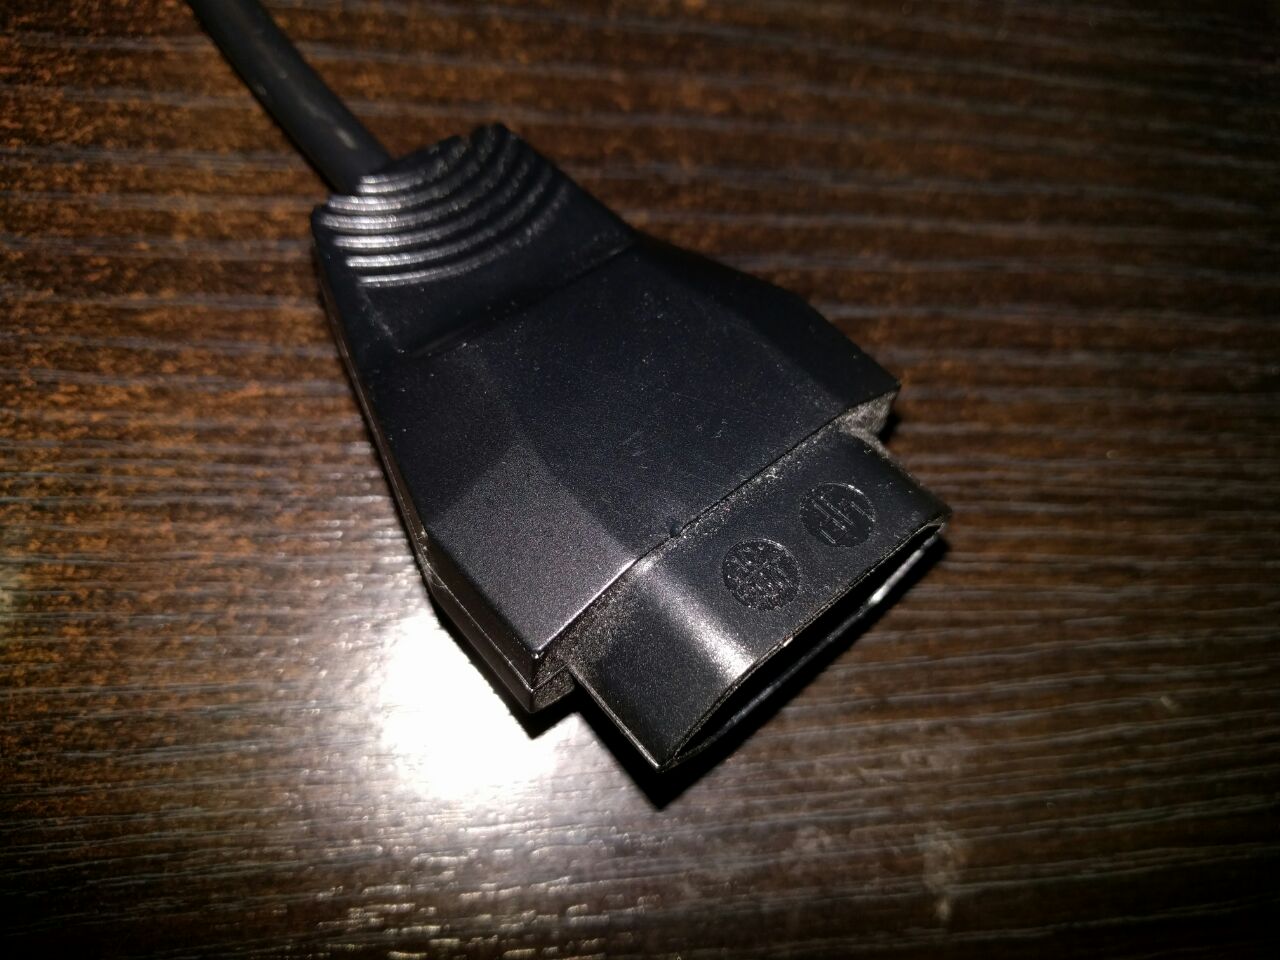
Seguidamente la embra:
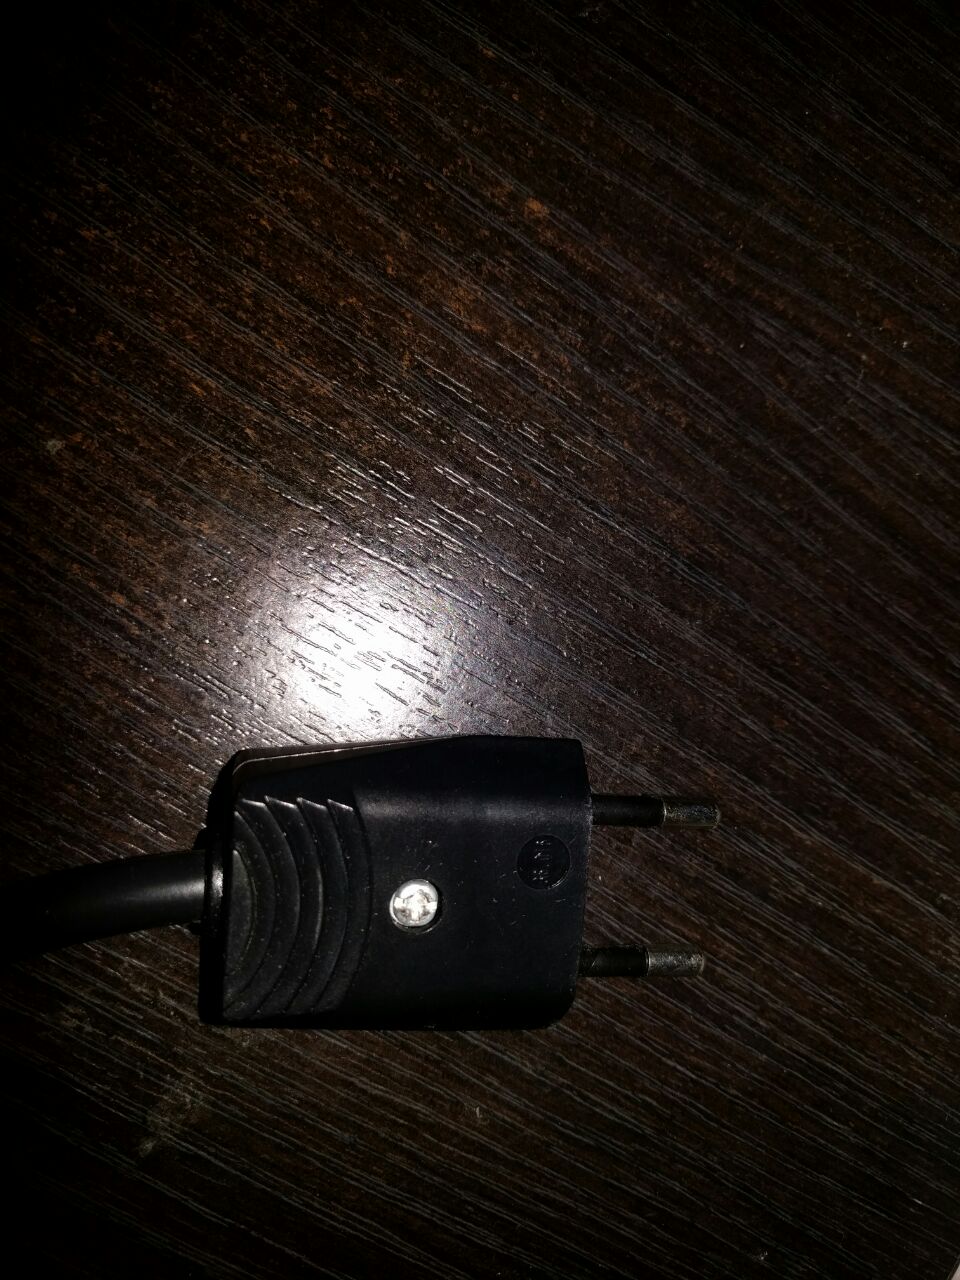
Y finalmente la toma de electricidad:
Solo nos quedará conectar el macho a la corriente y un ventilador a la hembra.
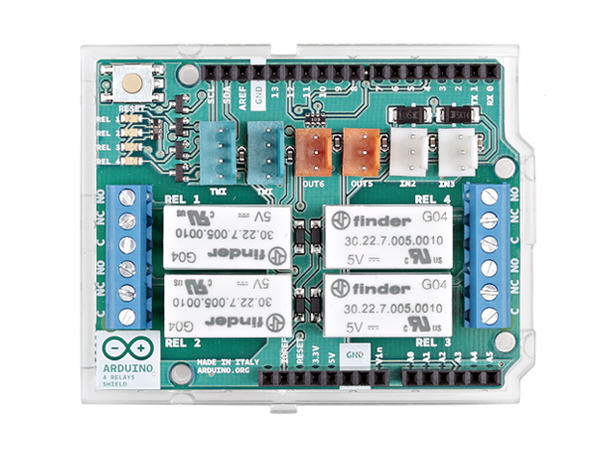
Para más información sobre el relay shield utilizado os dejo el link de la página del mismo Arduino – 4 Relays Shield
Programa para controlar el relay
A continuación este es el programa que permitirá acceder remotamente a nuestro relay. El código esta debidamente comentado
#include <Bridge.h>
#include <BridgeServer.h>
#include <BridgeClient.h>

// Listen to the default port 5555, the Yún webserver
// will forward there all the HTTP requests you send
BridgeServer server;

int RELAY3 = 8;

void setup() {
  // Bridge startup
  pinMode(13, OUTPUT);
  digitalWrite(13, LOW);
  Bridge.begin();
  digitalWrite(13, HIGH);
  pinMode(RELAY3, OUTPUT);

  // Listen for incoming connection only from localhost
  // (no one from the external network could connect)
  server.listenOnLocalhost();
  server.begin();
}

void loop() {
  // Get clients coming from server
  BridgeClient client = server.accept();

  // There is a new client?
  if (client) {
    // Process request
    process(client);

    // Close connection and free resources.
    client.stop();
  }

  delay(50); // Poll every 50ms
}

void process(BridgeClient client) {
  // read the command
  String command = client.readStringUntil('/');

  // is "digital" command?
  if (command == "digital") {
    digitalCommand(client);
  }

  // is "status" command?
  if (command == "status") {
    statusCommand(client);
  }
}

void digitalCommand(BridgeClient client) {
  int pin, value;

  // Read pin number
  pin = client.parseInt();

  // If the next character is a '/' it means we have an URL
  // with a value like: "/digital/13/1"
  if (client.read() == '/') {
    value = client.parseInt();
    digitalWrite(pin, value);
  } else {
    value = digitalRead(pin);
  }

  // Send feedback to client
  client.print(F("{\"pin\":"));
  client.print(pin);
  client.print(F(" ,\"status\":"));
  client.print(value);
  client.print(F("}"));

  // Update datastore key with the current pin value
  String key = "D";
  key += pin;
  Bridge.put(key, String(value));

}


void statusCommand(BridgeClient client) {
  int pin, value;

  // Read pin number
  pin = client.parseInt();
  value = digitalRead(pin);

  // Send feedback to client
  client.print(F("{\"pin\":"));
  client.print(pin);
  client.print(F(" ,\"status\":"));
  client.print(value);
  client.print(F("}"));
}
Encendiendo y apagando nuestro ventilador
Desde un navegador accediendo a la url obtendremos el estado del relay:
http://ip-seeduino/arduino/status/8
{"pin":8 ,"status":0}
Retornará un 0 (apagado) o 1 (encendido)
Para apagarlo
http://ip-seeeduino/arduino/digital/8/0
{"pin":8 ,"status":0}
Y para encenderlo
http://ip-seeeduino/arduino/digital/8/1
{"pin":8 ,"status":1}
Conclusión
Ya podemos controlar nuestro ventilador remotamente y como podemos ver ha resultado muy fácil. Pero la verdad, con una url desde el plugin de un navegador es muy rudimentario y no excesivamente útil. En el próximo post crearemos una simple aplicación Android, que se encargará de controlar y obtener el estado de nuestro ventilador des de la Rest Api de Seeeduino. De paso presentaremos y utilizaremos una librería muy útil para este tipo de escenarios, Retrofit. A continucación podéis encontrar el ejemplo del código arduino en GitHub y el enlace a la placa de rayls de arduino.
 Free Software fundation
 Scuraki
Deja un comentario